Embed GitHub Actions in your Docs
In software development, GitHub Actions is a popular tool for automating tasks and streamlining workflows. It allows for flexible automation within your development lifecycle, freeing up time to focus on writing code. Today, we are making running GitHub Actions to gate deploys and cut releases a whole lot easier.
In this blog post, we will explore how RUNME can help connect the dots between relevant GitHub Actions workflows and your deploy and release processes. We'll cover the fundamental concepts, discuss their benefits, and showcase practical examples demonstrating their versatility. Whether you're a seasoned developer or just starting your coding journey, this post will provide you with a solid foundation to leverage GitHub Actions effectively.
Manually Running a Workflow
GitHub allows you to do execute Actions automatically and manually. It’s an everyday use case to run Actions automatically for Continuous Integration (CI) or Automated Code Reviews, and manually when deploying to production, doing a pre-release or for environment setup.
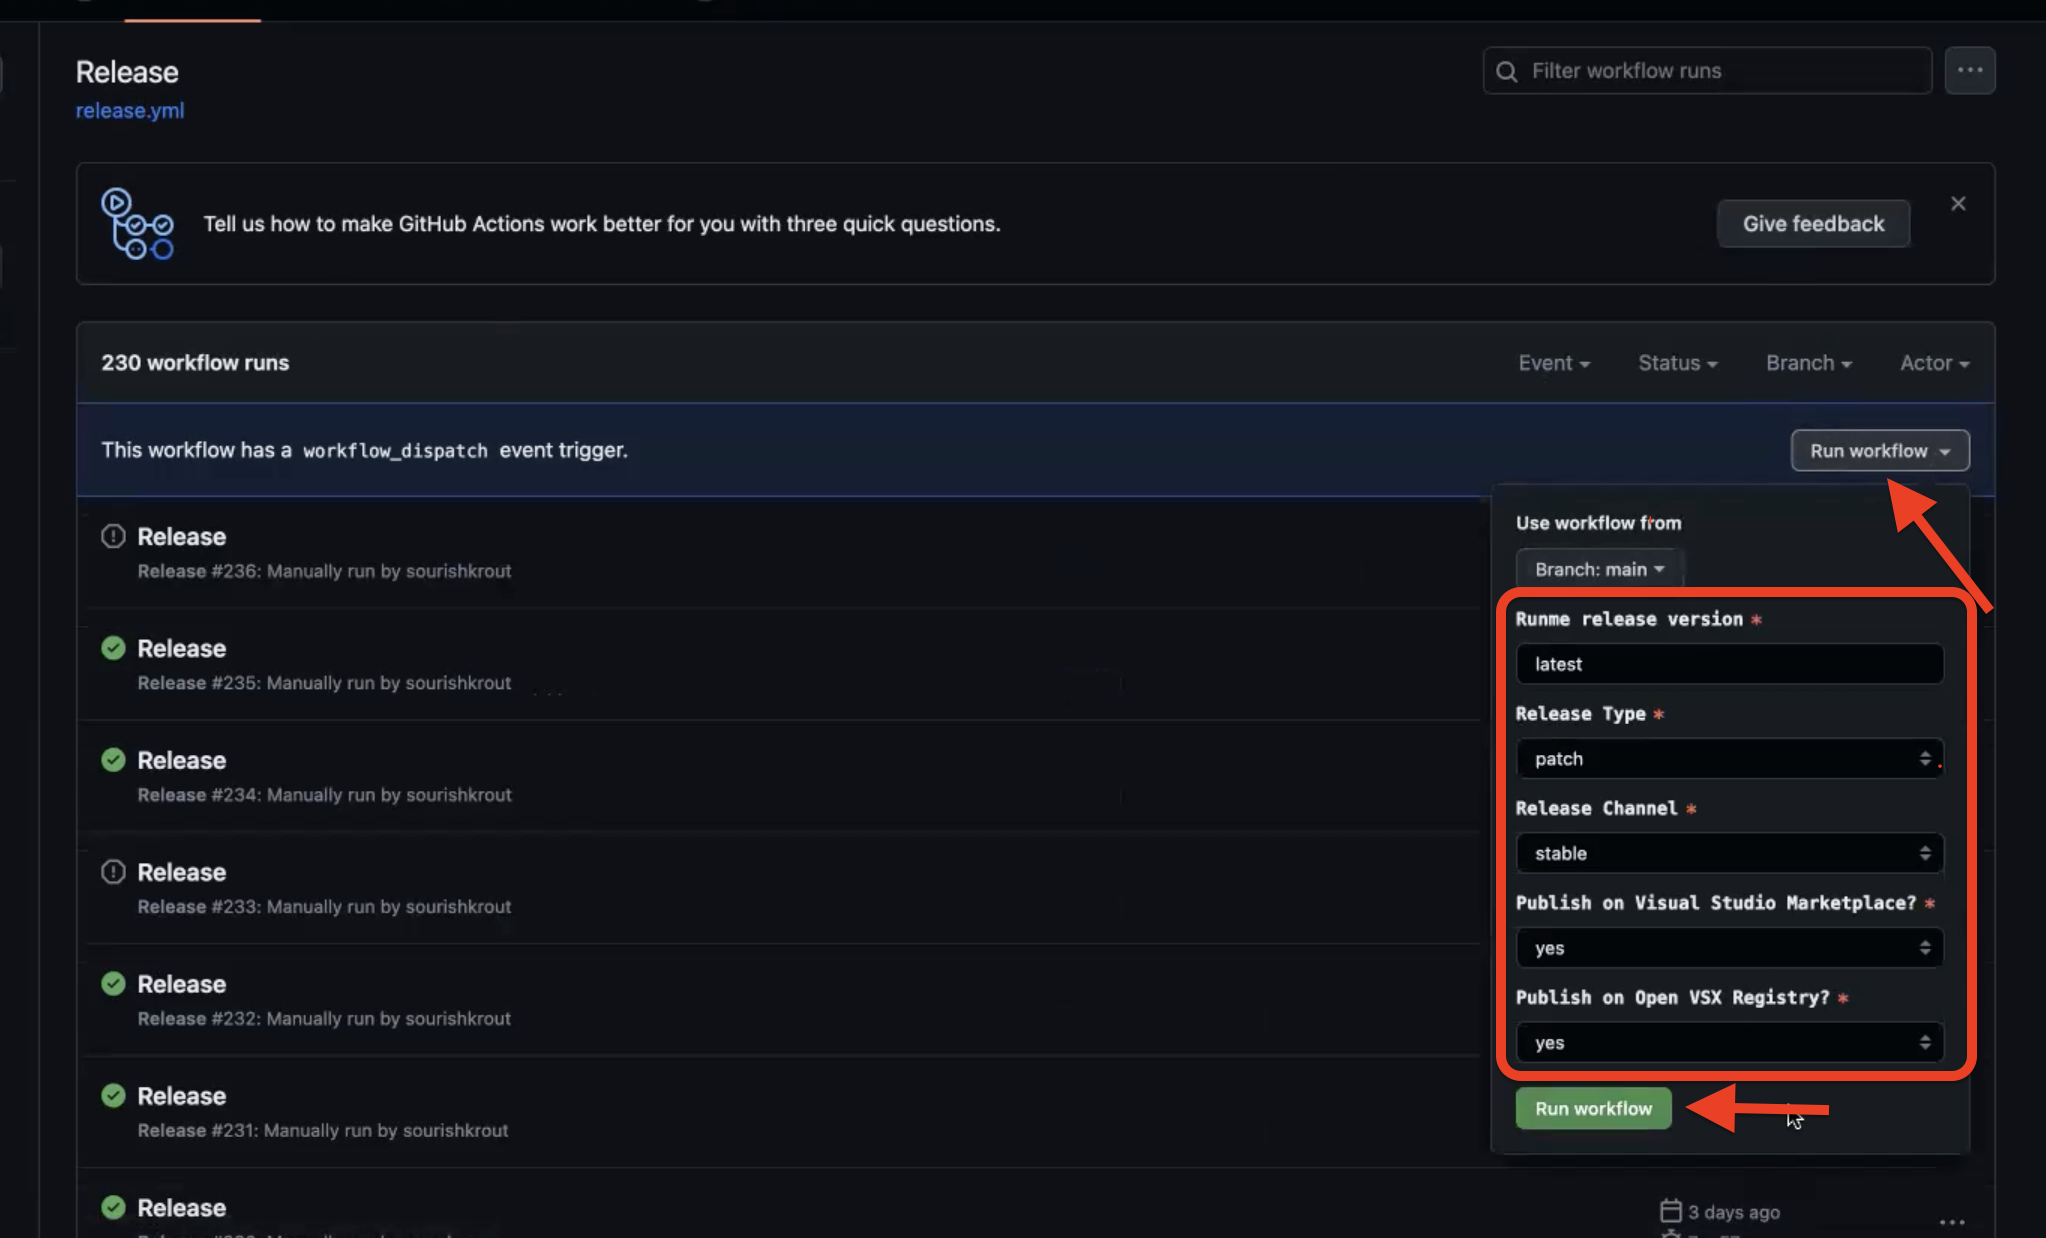
In this blog post we will focus on manual executions. It is possible to identify when a GitHub Action is manual when you see the message This workflow has a workflow_dispatch event trigger and the Run workflow button inside the “Actions” tab.

(You can read more about workflow_dispatch in the following link).
The following example, it’s a manual release GitHub Action, we click the Run workflow button to open the configuration options, and after having the desired config, click on Run workflow to execute the commands. And Voilà! That’s it.
However, it will be even better if we can do all of this inside VS Code. ✨
Integrating GitHub Actions extension and RUNME
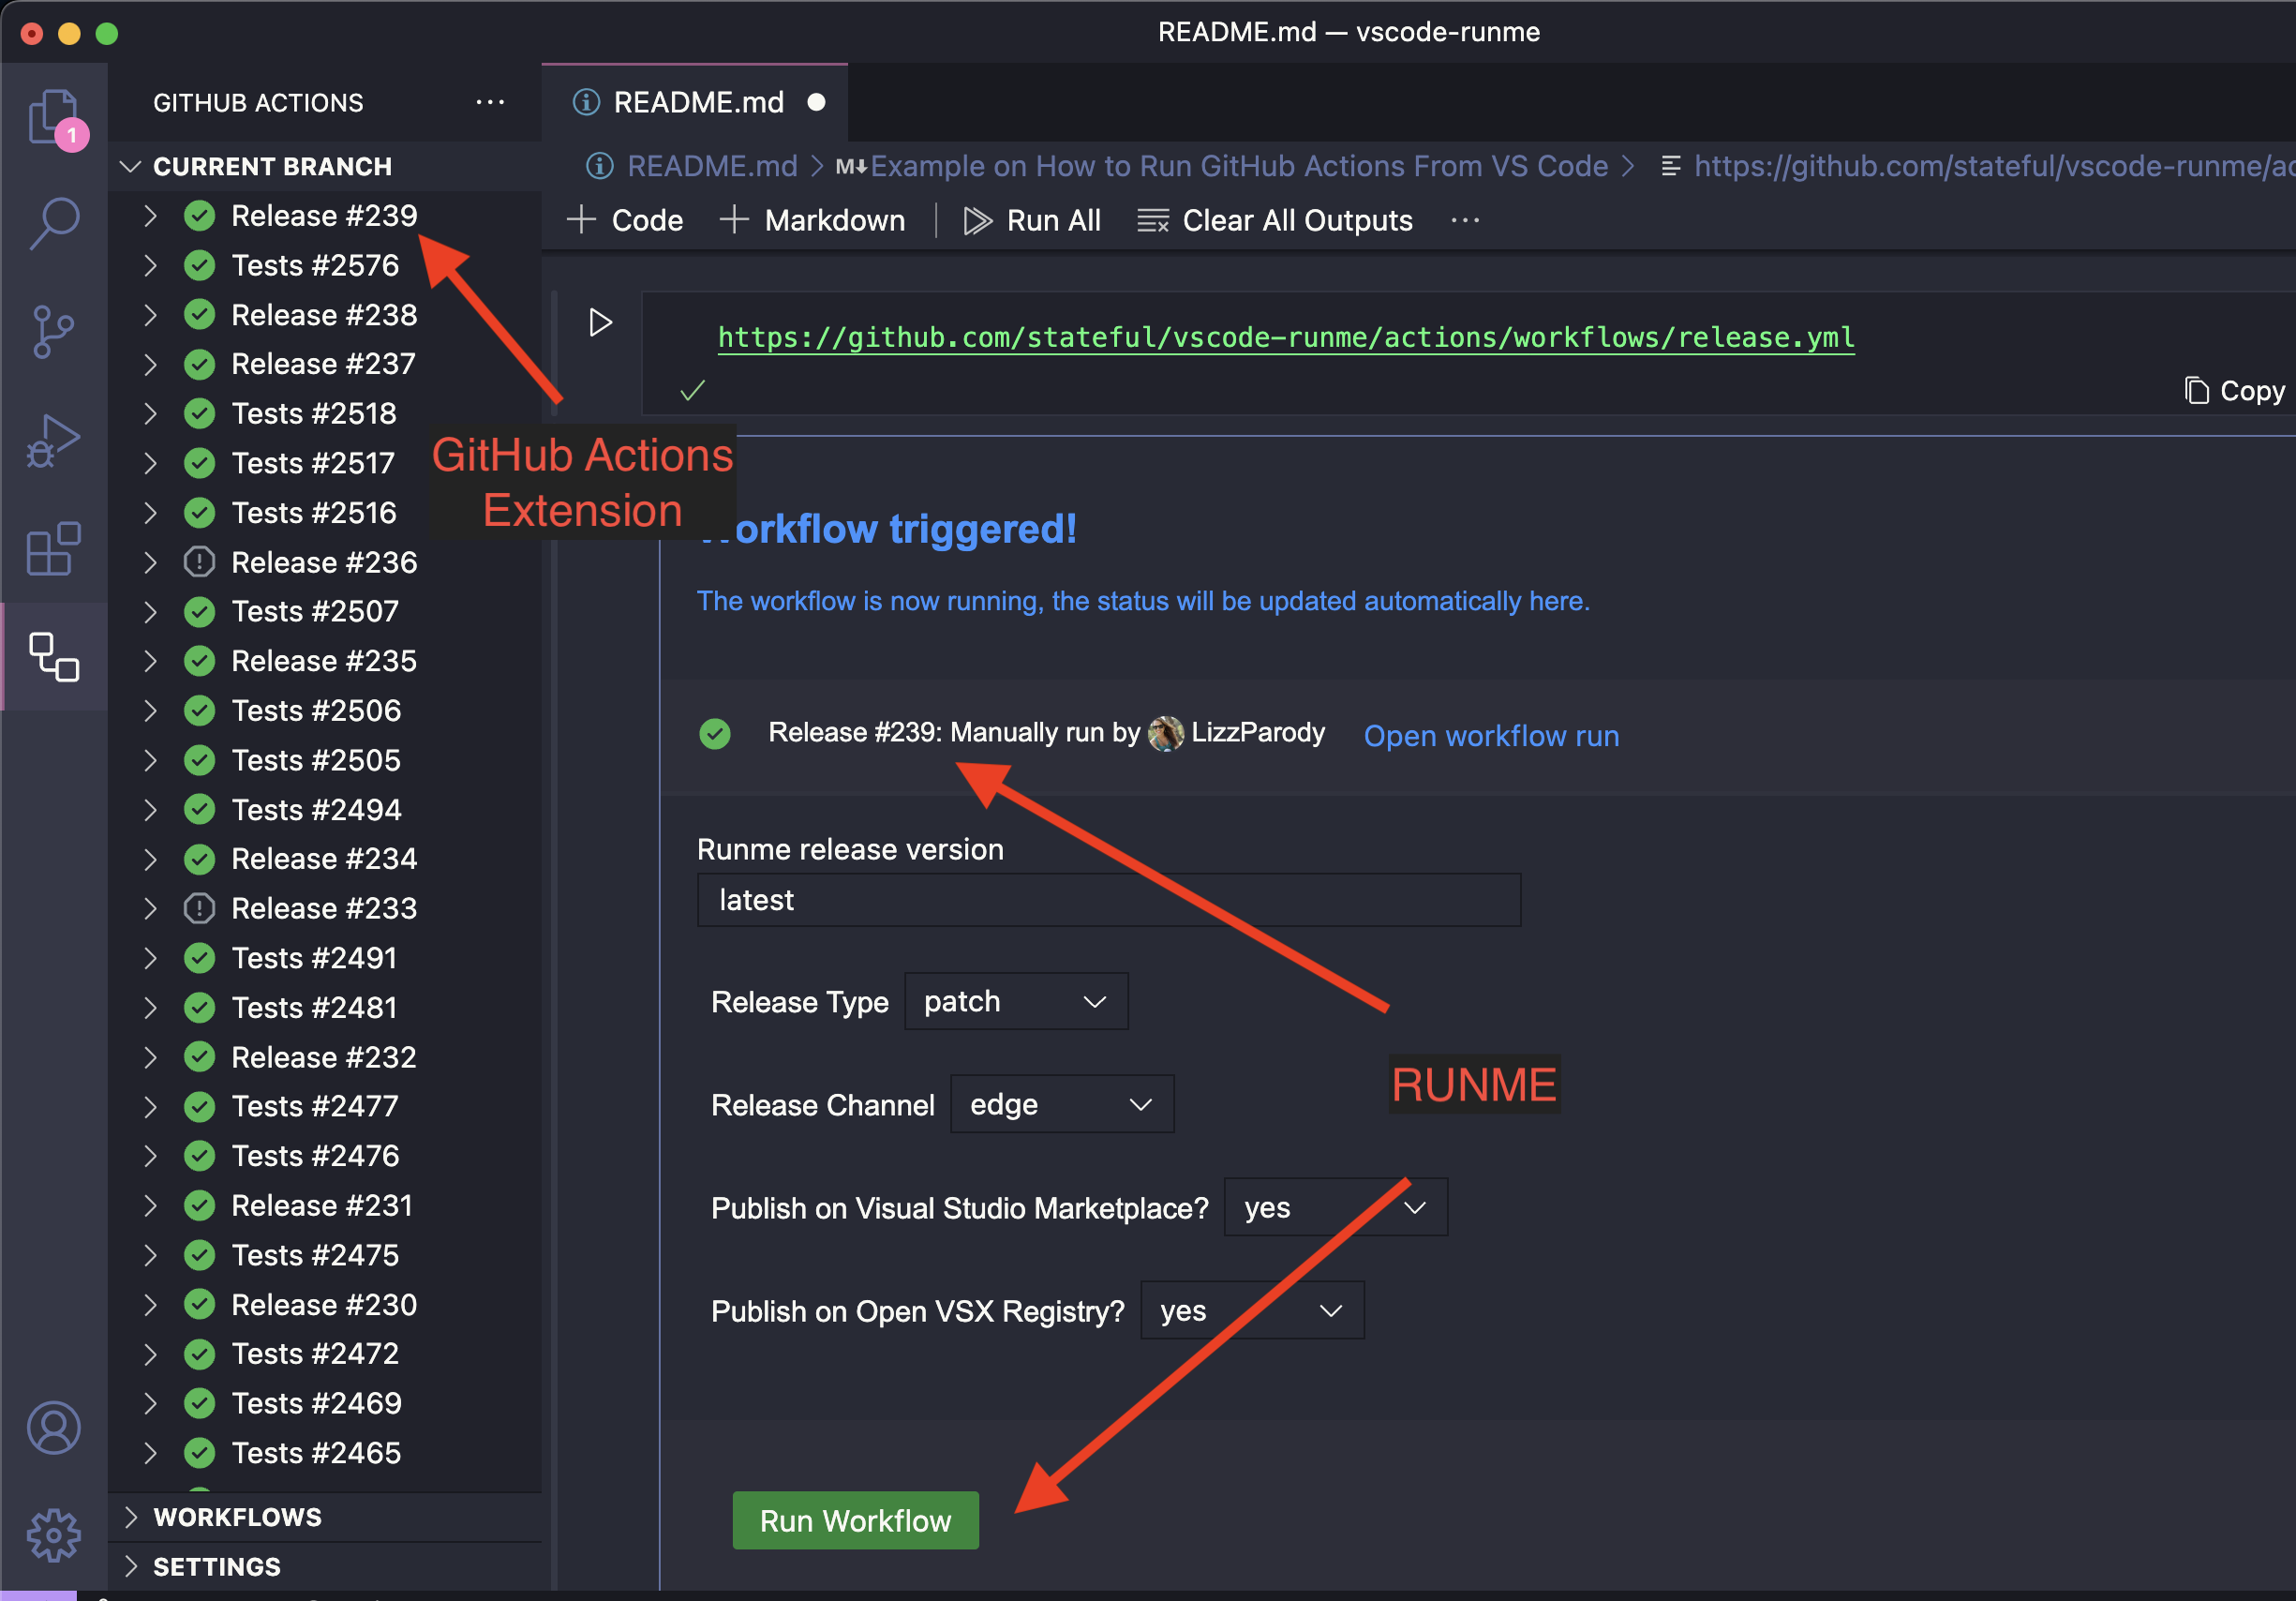
With the GitHub Actions extension for VS Code and RUNME you can do that! You are able to author and edit workflows, and it helps you manage workflow runs without leaving your IDE. You can easily monitor runs for workflows in your repository, cancel and re-run them, or trigger new ones for manually triggered workflows. To investigate failures, you can drill down from runs to jobs to steps and even view logs without leaving VS Code.
You can see in real time once you workflow is executed, making easy to execute and see the result of your workflow all inside VS Code. Both interfaces (GitHub Actions Extension and RUNME) complement each other, making the experience of executing workflows even better.
This is how the GitHub Actions extension and RUNME looks like after running a workflow:
How the RUNME Extension Works:
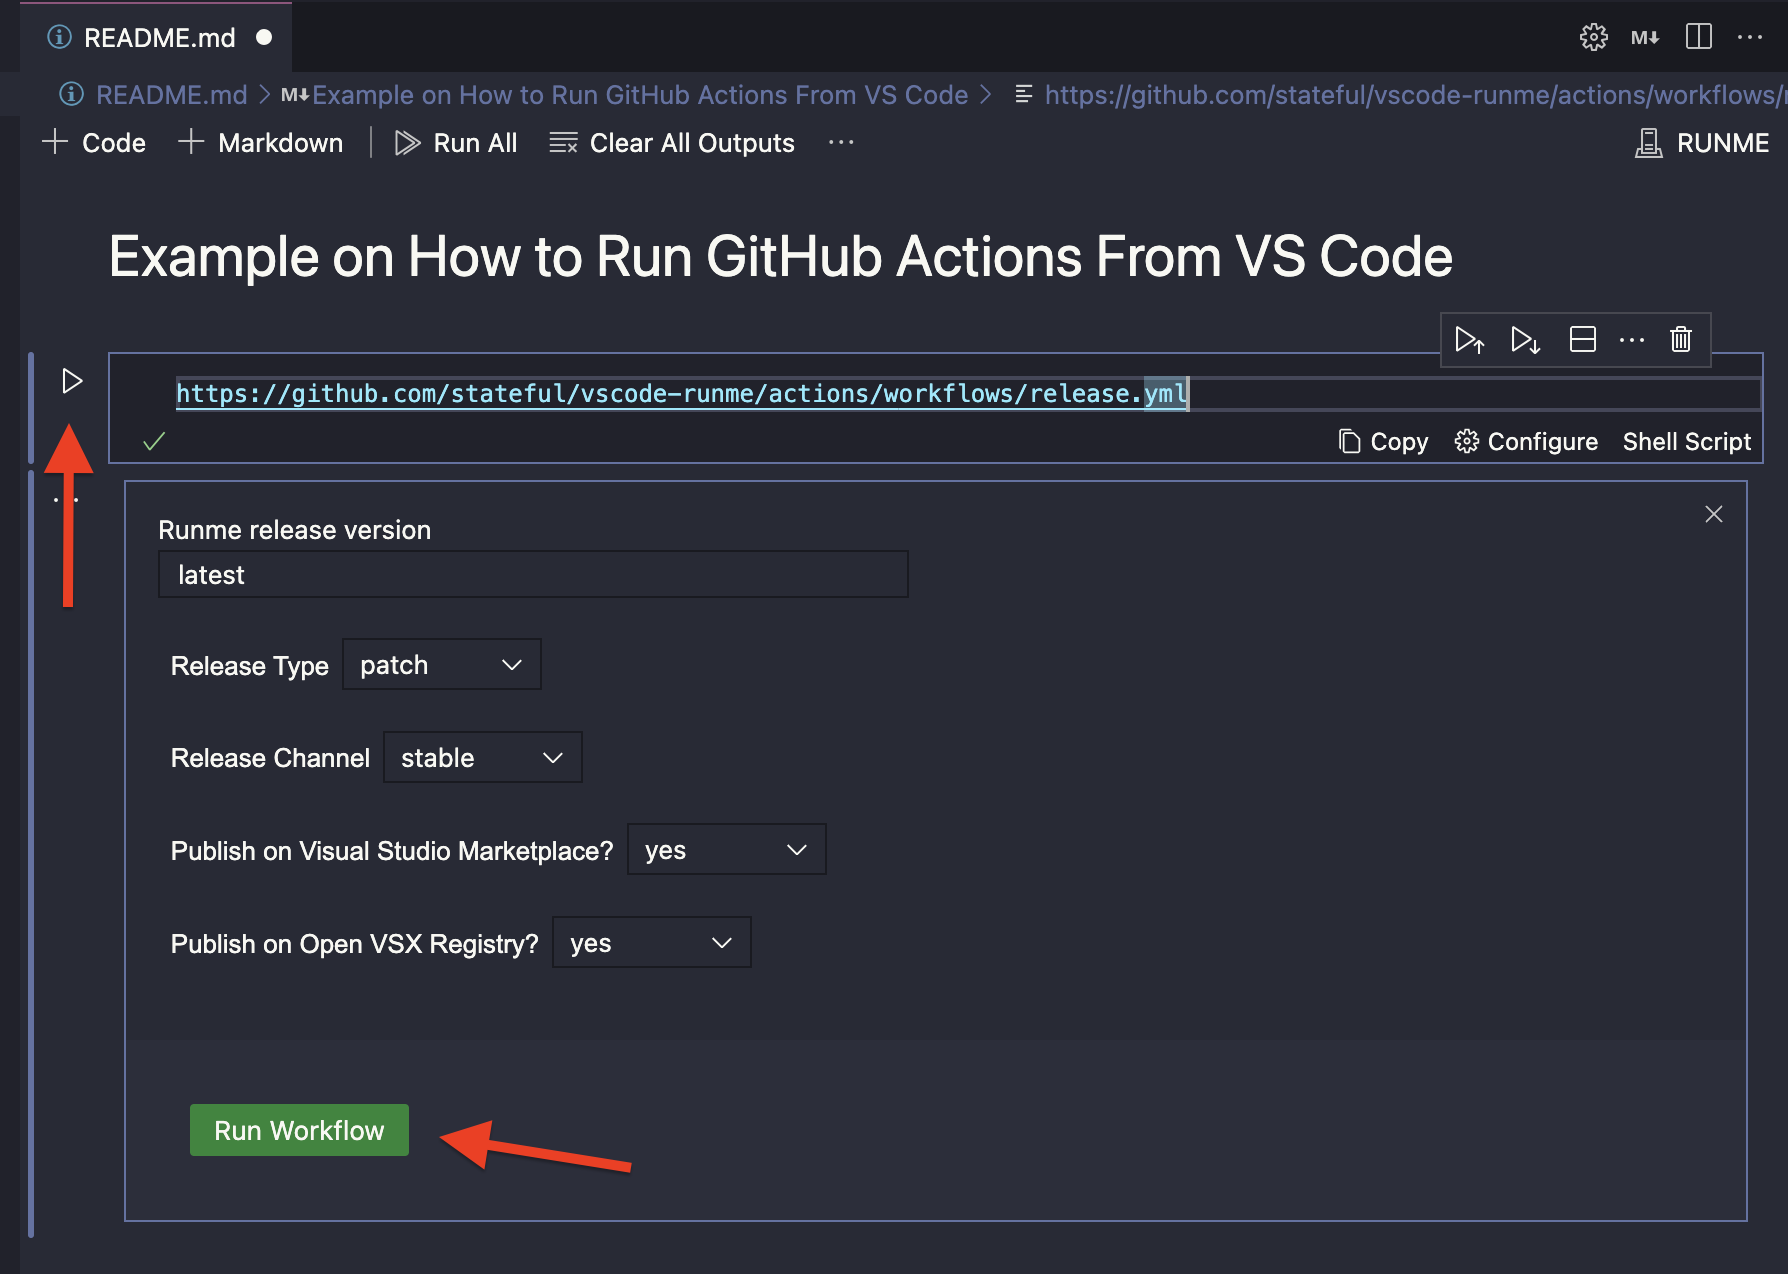
You can copy the link of the GitHub Action inside your README.md file (which will be a .yml file inside your .github folder or inside the Actions tab), just click the ▶️ RUNME button as shown below and it will display the configuration options. You can fill the configuration options or leave it in blank, and once you click the Run Workflow button, it will execute the GitHub Action.
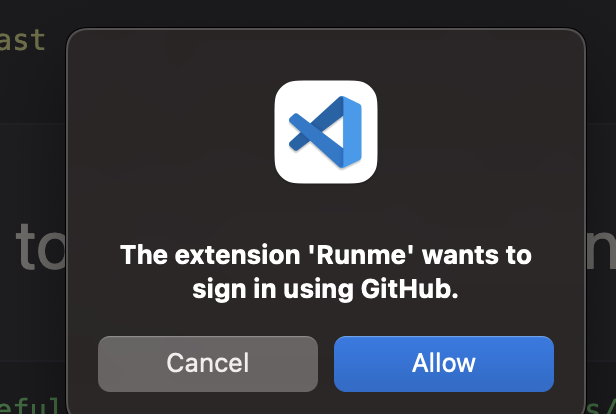
If you are not authenticated, it will prompt a window to sign in using GitHub (directly, no third party involved) and be able to run the GitHub Action. Also, you have to have access to the repository.
After executing the workflow, it will display the following message:

If you click the Open workflow run you will be able to see the relevant information on GitHub.
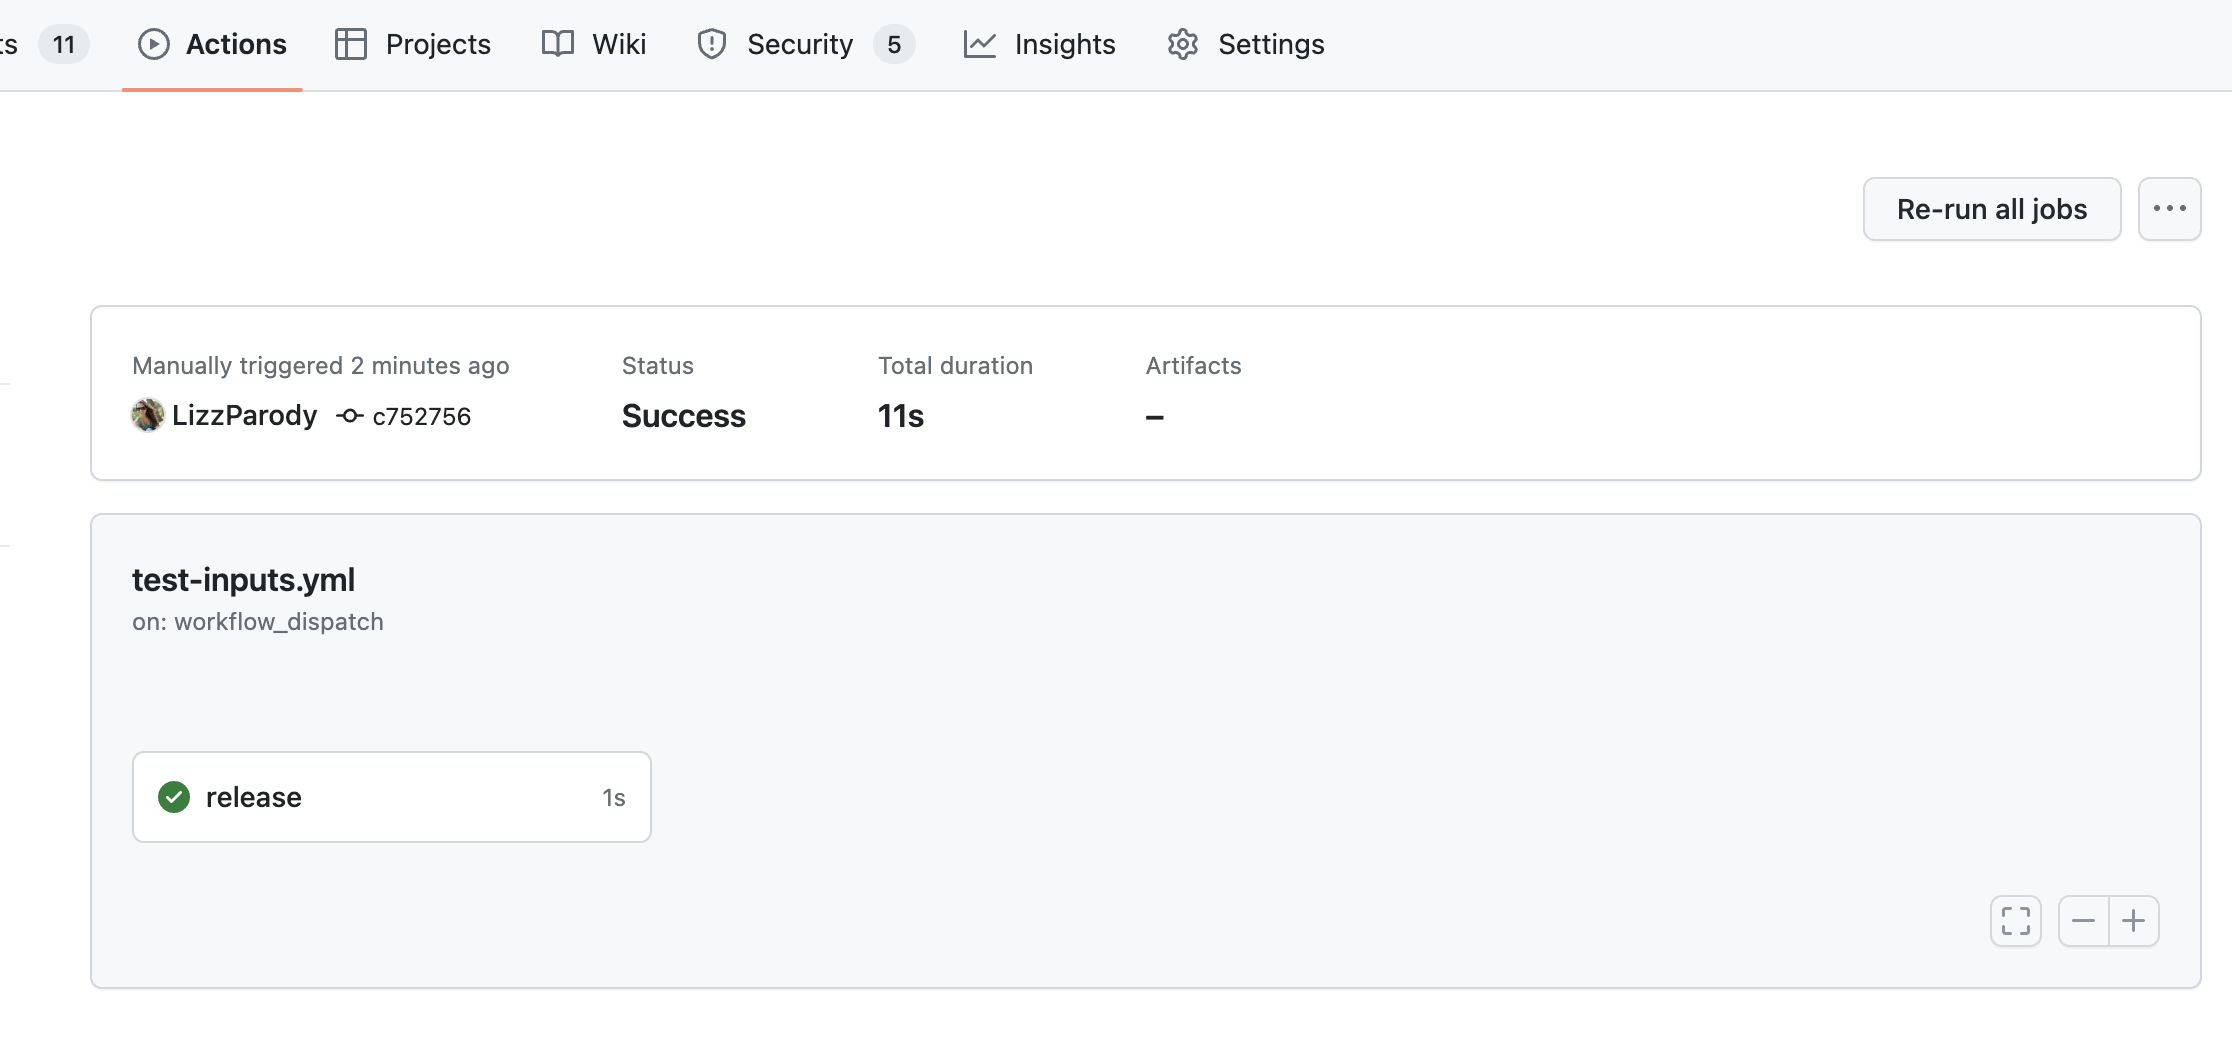
And that’s it! You will have an awesome interface to run your workflows inside VS Code. One advantage of having the workflow inside a notebook is that you can run multiple workflows at the same time, for example, one for test and one for release, and also it helps you to quickly run a GitHub action without leaving VS Code, for example, if you are working on a project and you need to do a quick release or deploy to production.
Before you go...
To stay updated with our latest content, please subscribe to our email updates or follow us on X at @runmedev.Check out Runme, a VS Code Extension that allows you to create DevOps Notebooks with Markdown. It combines your documentation with everything great about scripting, pipelines, GitOps, and the Cloud.
Bye for now! 👋
